Click here to get this post as a PDF
Grout Colouring a Ceramic Floor in Lancaster
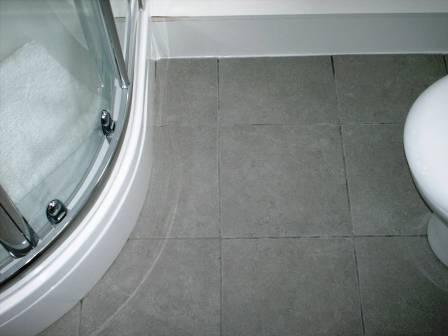
Here are some details of a small 4m2 Tile Cleaning and Grout Colouring job we did in a shower room in Lancaster. The tiles were recently laid and unfortunately the 5mm wide grout had discoloured because the tiler had used the same bucket to mix the adhesive with and some of the remnants from that had got into the grout mix. If the tiler had used a separate bucket this wouldn’t have happened. The tiler didn’t know what to do to rectify the problem so Tile Doctor got the call. He had done a good job on the rest of the bathroom and the customer didn’t want to upset him over it any further so she was quite happy to pay me to sort the problem out, as long as it didn’t look false.
First I cleaned the grout with the pre-treater spray that comes with the kit and washed off the excess with water. Although the directions recommend leaving the grout to dry for 2 hours I left it for 30 minutes followed by a blast from my heat gun to dry any dark wet spots, this speeds up the process immensely.
Applying the Grout Colouring
Next I applied the Grout Colourant, fortunately the tiles were ceramic and the excess grout colourant came off the tiles very easily where I had got some on by accident. The kit came with a special white abrasive cloth which is excellent at removing excess grout colourant from the tiles. I often find unglazed tiles or stone and even some porcelain tiles are slightly porous on the surface and if the grout colourant gets on to these tiles then it can be quite hard to get off. I find it’s always best to do a test first on a couple of rows, if you get any on the tiles, don’t leave it on for more than 10 to 15 minutes as it sets very hard. Porous stones should always be sealed beforehand as it will make them a lot easier to clean. Its worth noting that the Grout Colourant acts as a barrier and so will never need to be sealed, it’s also completely washable.
Source: Grout Colouring A Ceramic Tiled Bathroom Floor In Lancaster

