Click here to get this post as a PDF
I was contacted by a client in Shepperton about refurbishing their Ceramic tiled shower cubicle. They longed for a room that they didn’t dread going into in the mornings and were considering having a new bathroom suite fitted. Their main concern was the shower cubicle where the tile and grout were well past their best and looking rather dated.

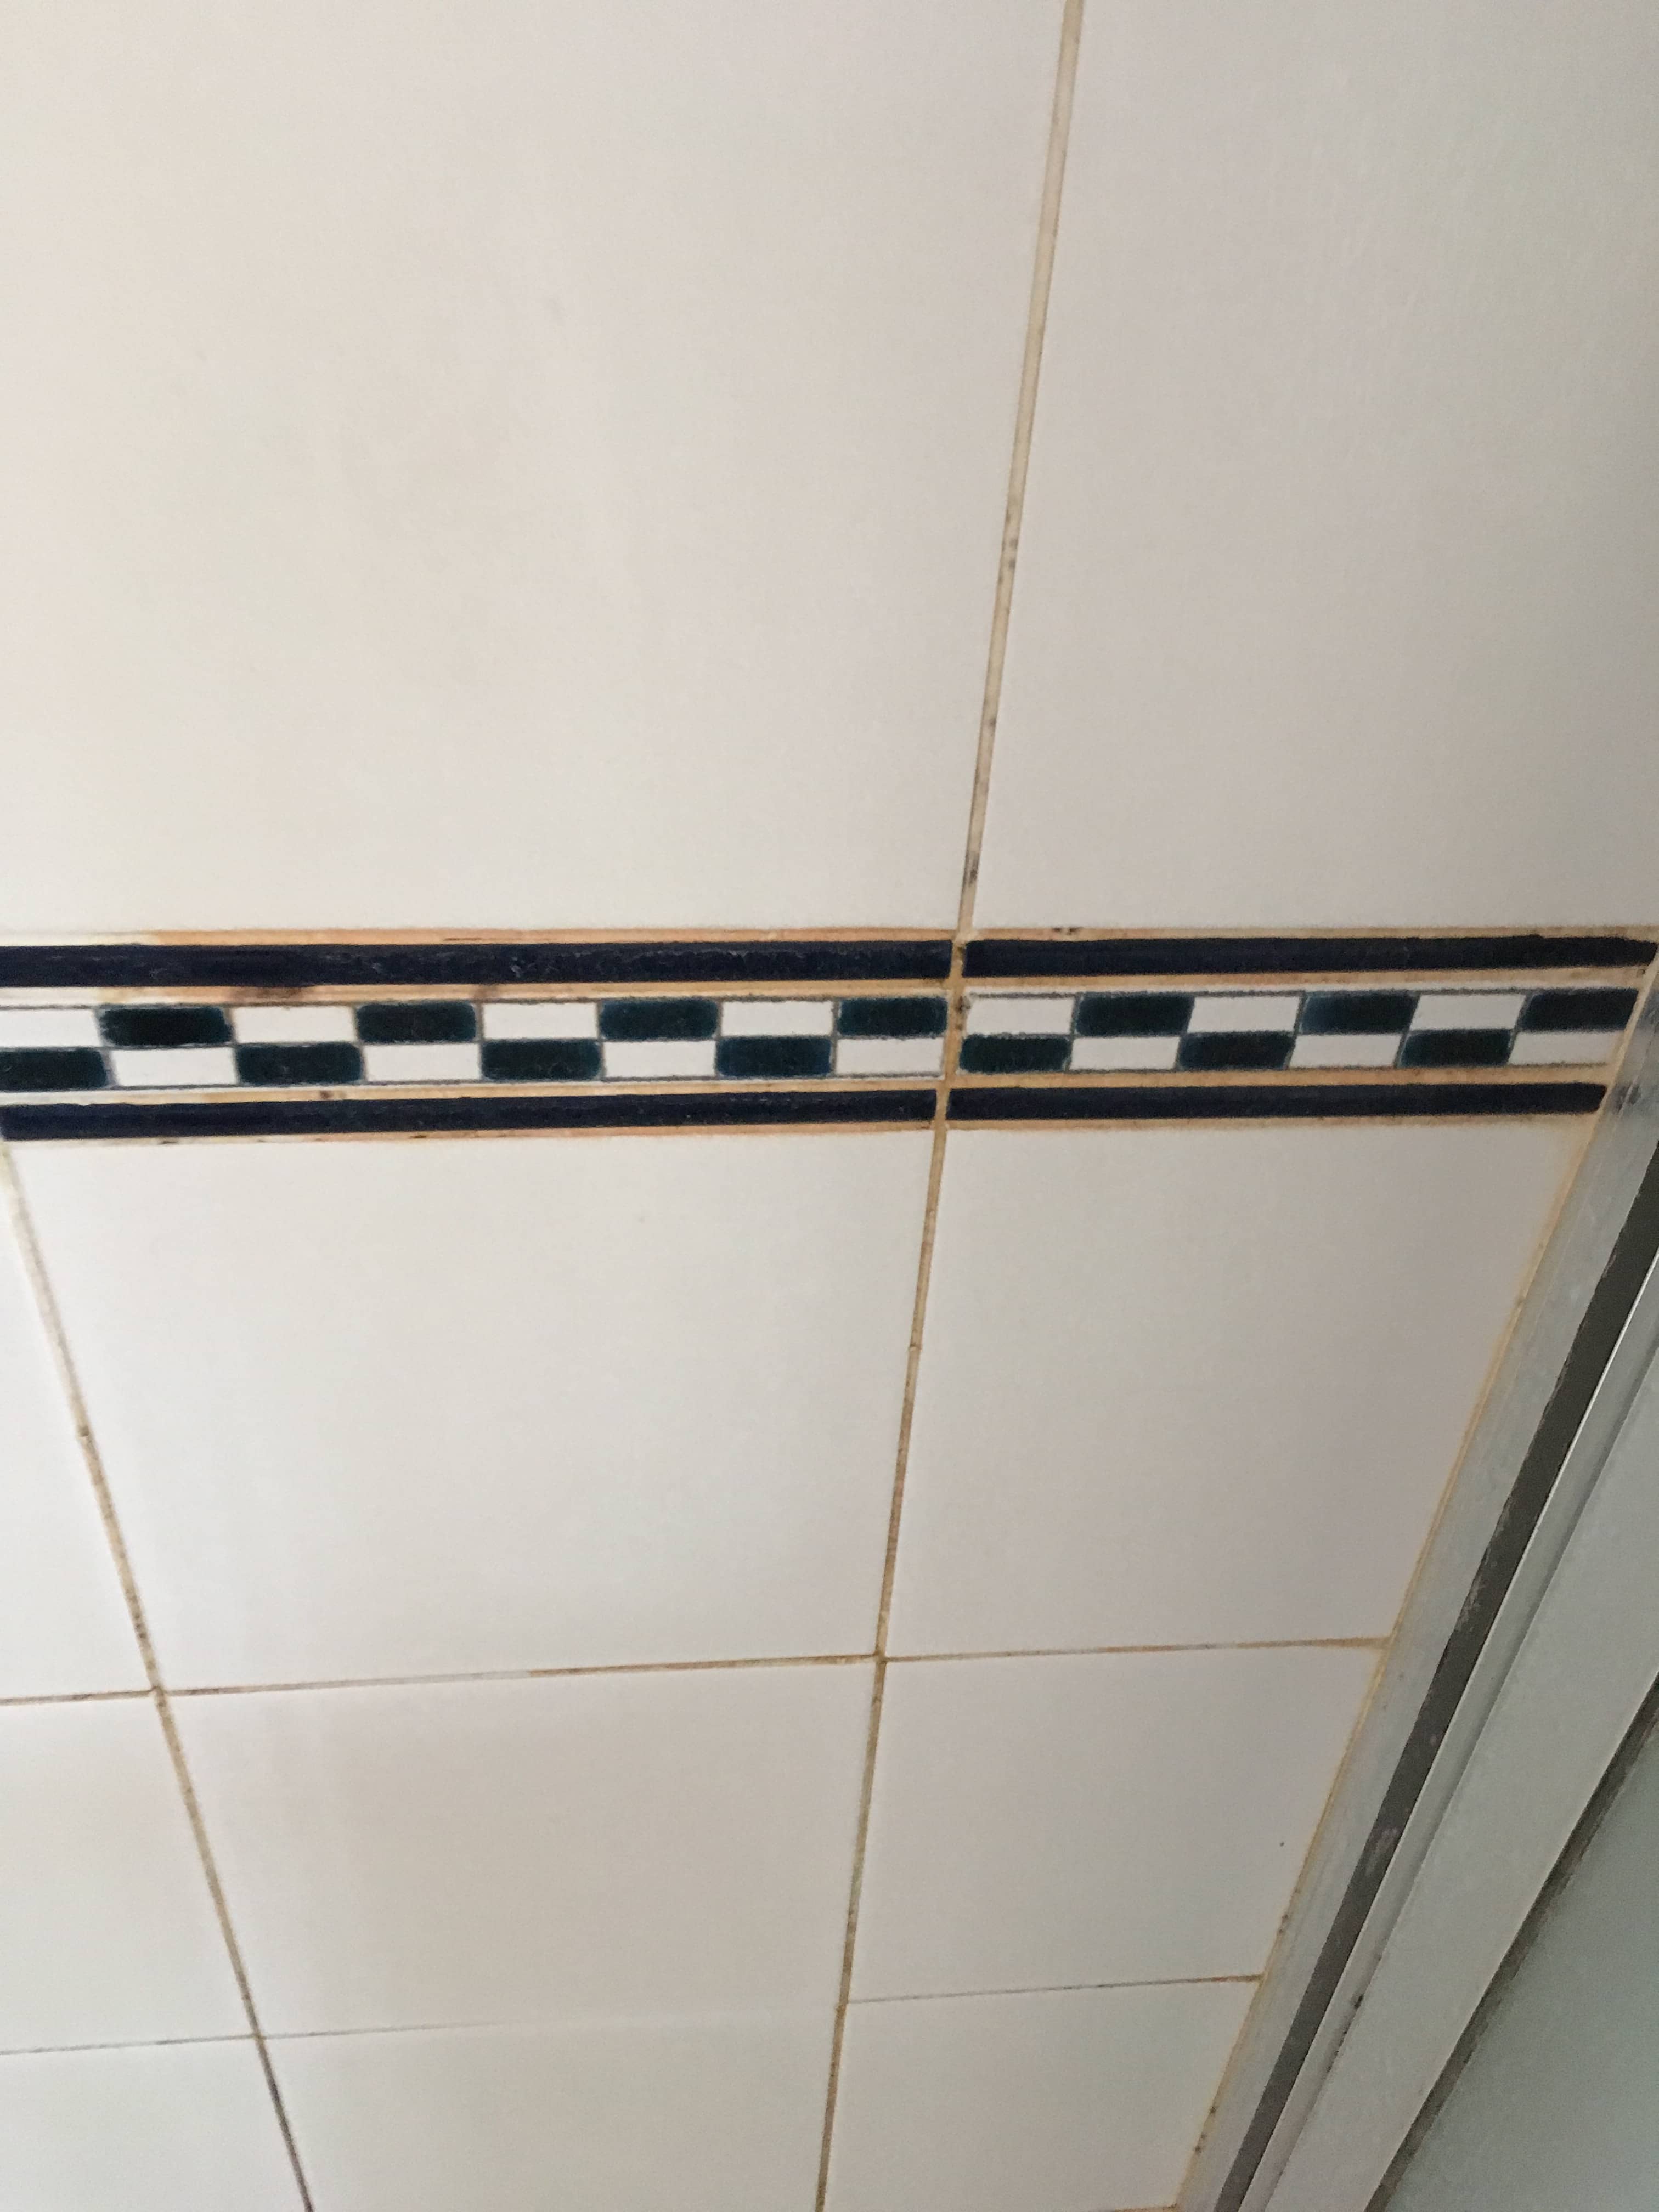
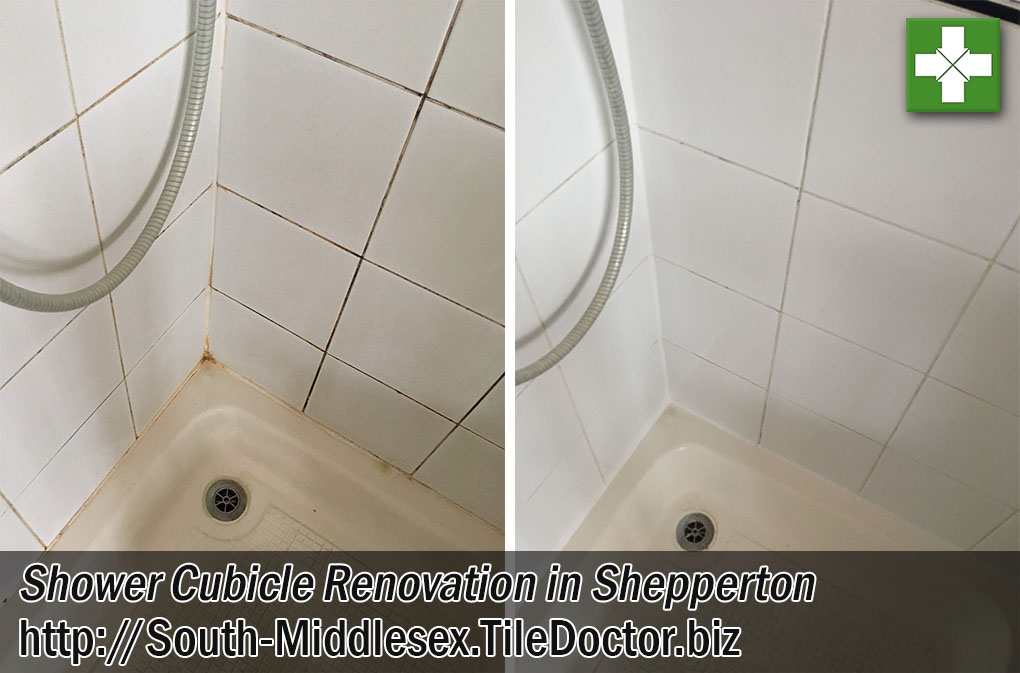
I’m based in Shepperton so it wasn’t long before I was able to call in and take a look at the shower cubicle to see if it could be renovated. It turns out the shower cubicle was installed fifteen years prior and had not been professionally cleaned during that time. You can see from the adjacent photographs that the discoloured grout was the main issue which is not unusual as the top layer of grout is slightly porous and does attract dirt. Ceramic tiles on the other hand have a glazed surface which makes them very easy to keep clean
 |
 |
I discussed with the client what could be done, and they were delighted to hear that the problem could be remedied, and that new life could be breathed into the old bathroom. The room had a timeless black and white tiled scheme so I was confident we could get it clean and in much better shape quite quickly. They agreed my price and we booked in a time to carry the work out.
Deep Cleaning of a Ceramic Tiled Shower Cubicle
Much of the Tile Doctor cleaning product range can be used to clean-up grout but probably the most popular is Pro-Clean which is a strong alkaline cleaner. This was my first thought to get the grout clean so using a decanted a strong dilution into a spray bottle and sprayed it onto the tile and grout. It was left to soak in for about ten minutes before being hand scrubbed into the tile wall. Afterwards the shower cubicle was rinsed down with water to remove the soiling and then inspected.
Whilst the Pro-Clean had removed a lot of the orange staining and accumulated dirt from both the tile and grout it had struggled to lighten up the grout lines which had darkened due to mould build-up, so more work was needed.
To resolve this, I applied another Tile Doctor product called Duo-Clean which is a fast and effective double action grout cleaner and mould remover. I used it as a spot cleaner spraying it onto the affected areas and leaving it to dwell for a few minutes before scrubbing it in. This second product handled the mould well and the grout was much cleaner and consistent.
Replacing Silicone Seal in a Ceramic Tiled Shower Cubicle
Once the cleaning was complete, I cut out the old silicone from around the base of the shower with a sharp knife. This is a job that has to be slowly done to avoid scratching the shower tray. Once the old silicone was removed, I ensured the area was then nice and dry and then replaced with a new mould resistant silicone in white to enhance the fresh new look.
Naturally after 15 years it’s impossible to get the grout back to its original colour but we certainly got very close. I could however have applied a white grout colourant at this stage, but the client was already happy with the result, so it wasn’t really necessary.
Last step was to spray the grout with aerosol Grout sealer which is very quick to apply and will protect the grout from further staining. The excess was wiped off the ceramic tiles which won’t take a sealer and the job was finished.

As you can see from the pictures, the transformation turned out very well and the customer was very pleased. For aftercare cleaning I recommended the use of Tile Doctor Aqua-Pro which is pH neutral tile and grout cleaner that will keep on top of future discolouration.
 |
 |
