Click here to get this post as a PDF
It’s not that uncommon for newly installed tiled floors to suffer from grout haze. This occurs where builder or tiler fails to remove all the excess grout from the surface of the tile after installation. It’s not always immediately obvious as the grout has to dry before it shows up and if the tiles are sealed afterward the grout is trapped on the surface of the tile under the sealer which makes it even more difficult to remove. Not too long ago, I was called to address this exact problem experienced on my client’s Sandstone tiled floor at her house Wappenham, Northamptonshire.
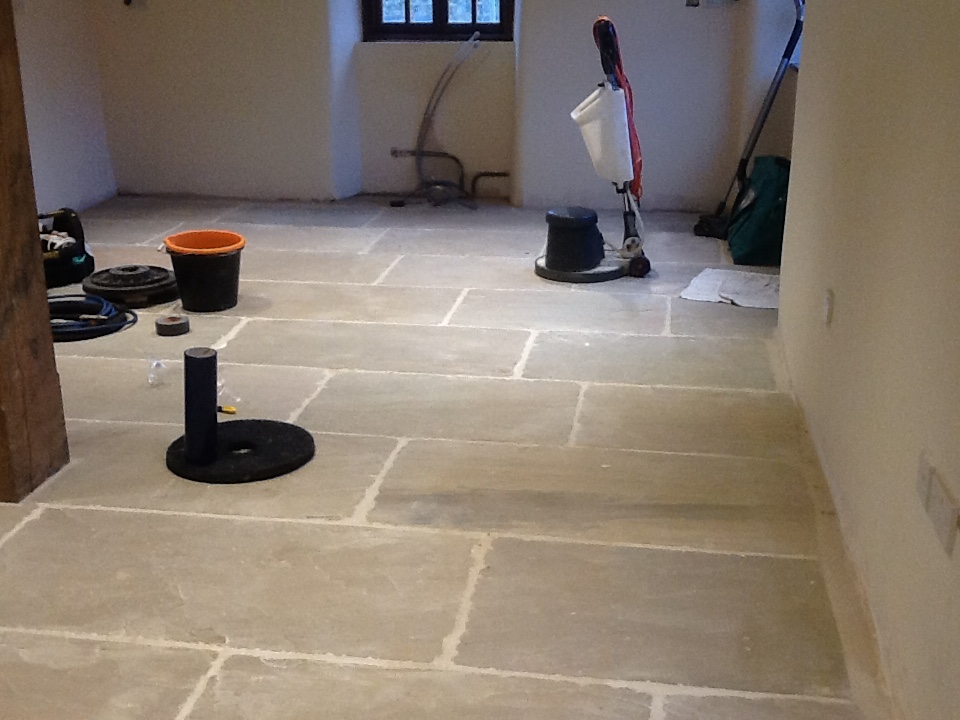
This first picture shows how the builder had left the floor after sealing (note how all the tiles have a similar colour). Also shown in the picture is the equipment I use to remove grout haze should you wish to do this yourself.
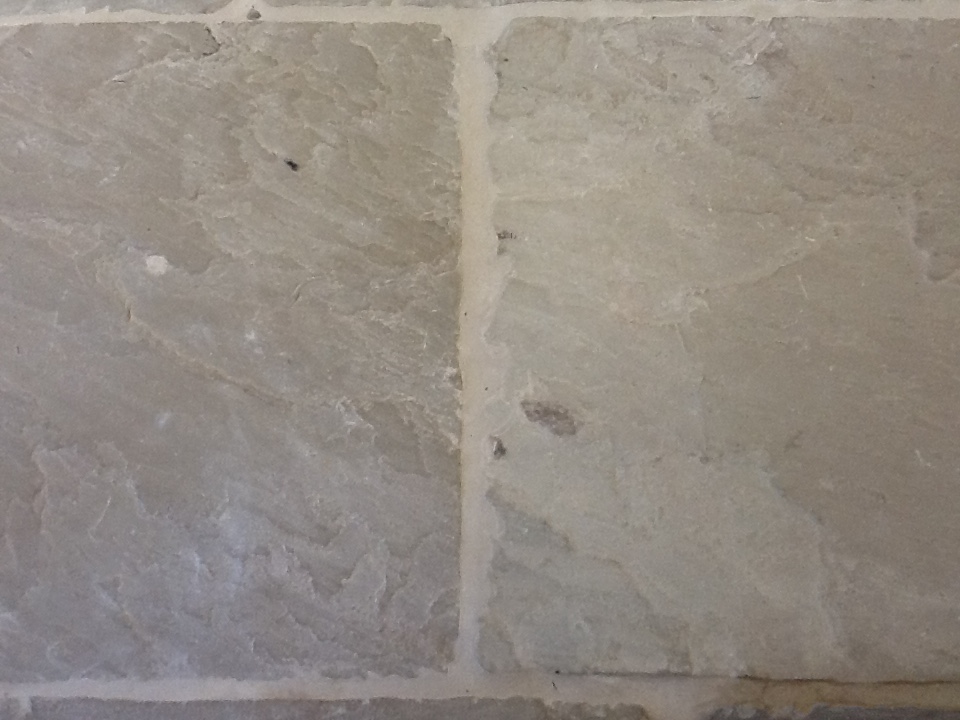
The second picture shows a close-up of the white grout haze deposits on the surface of the tile; the issue is probably difficult to appreciate if you haven’t come across this type of problem yourself however you will find ordinary household cleaning products will be largely ineffectual.
Removing Sealer from Sandstone Floor Tiles
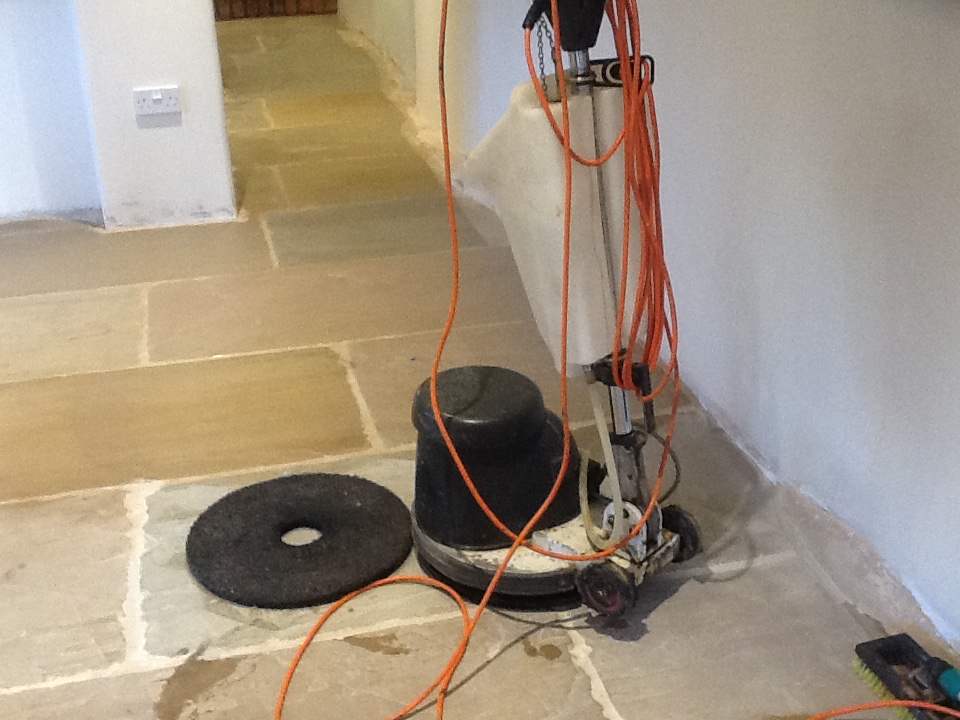
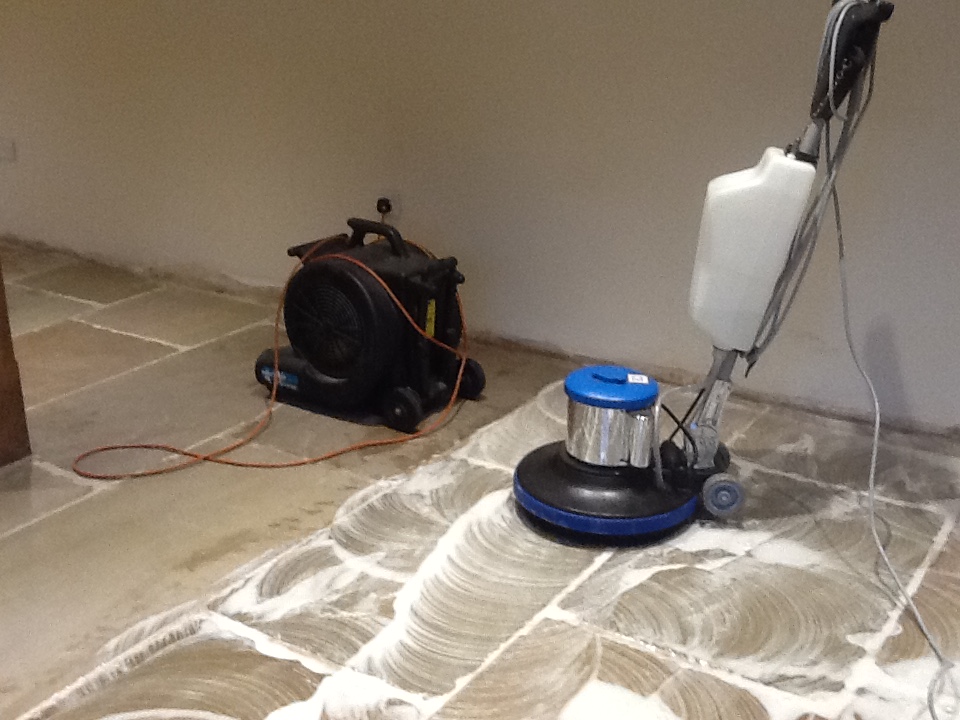
The third picture shows the first stage of the cleaning process which required stripping off the sealer so I could then treat the Grout Haze. To do this I applied Tile Doctor Remove & Go liberally across the floor, before agitating with a black stripping pad fitted to a rotary machine to break down the old surface sealer. I followed this by using a wet-vac machine to remove any soiled residue. As you can see in the next photograph, the colours are already starting to show.
Treating Grout Haze on Sandstone
The next photo shows the second stage of the process, which involved the application of a new product in the Tile Doctor range called Acid Gel. The acid based formula is required to remove the cement/grout and being a gel you find the product remains in situ breaking down the grout haze instead of spreading around as you would expect with a liquid.
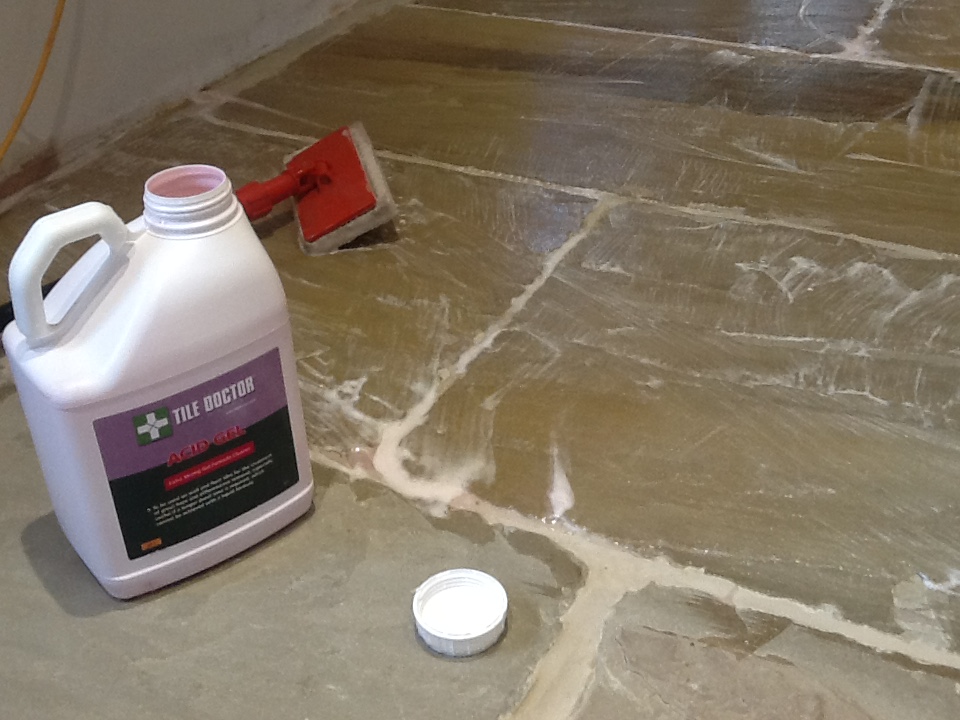
I left the Acid Gel to dwell for approximately ten minutes, before mixing it with water and scrubbing it into the tiles with an industrial brush. This was followed by a second wet vacuum to ensure all the residue was removed. A turbo dryer was used on the treated area to speed up the drying process whilst I moved onto the next section.
 |
 |
Sealing Sandstone Floor Tiles
Once the floor was fully dry I was able to seal it again with a couple of coats of Tile Doctor Colour Grow. Sealing will protect the floor from staining and make it easier to clean, additionally Colour Grow soaks into the pores of the stone protecting it from within and enhancing the natural colours of the stone in the process.
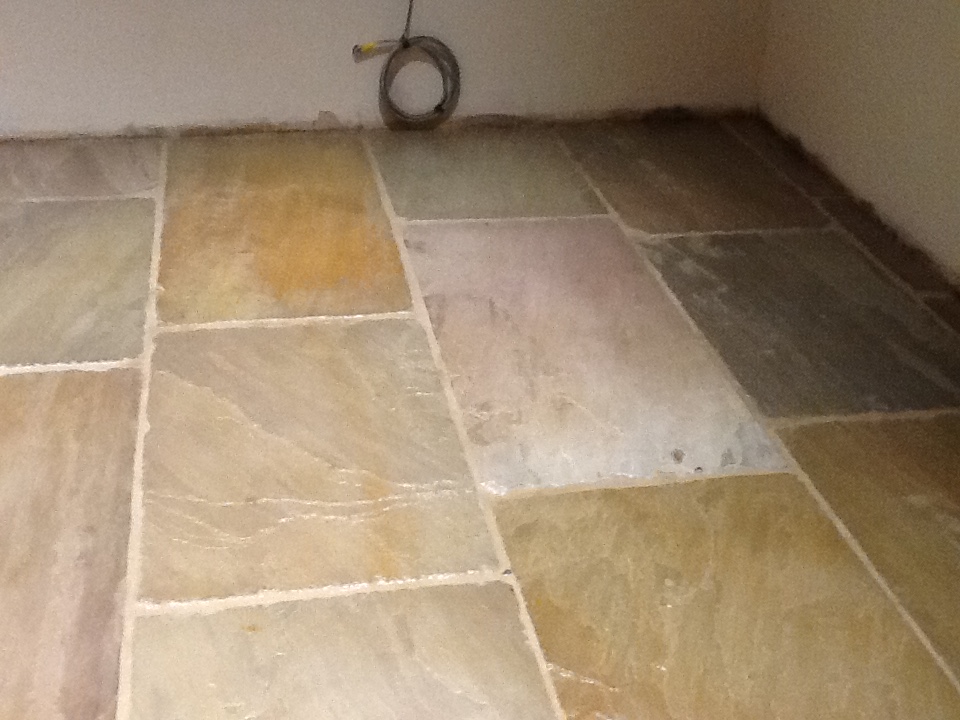
The final photograph shows an area which has been fully sealed and the tiles restored to their natural beauty. I achieved this result across the entirety of the floor.
Source: Sandstone Floor Cleaning and Restoration service in Northamptonshire
Tile Doctor operate across the UK and have the products and training to handle a multitude of issues surrounding flooring including tile, stone, Sandstone and grout.
Comments are closed.