Click here to get this post as a PDF
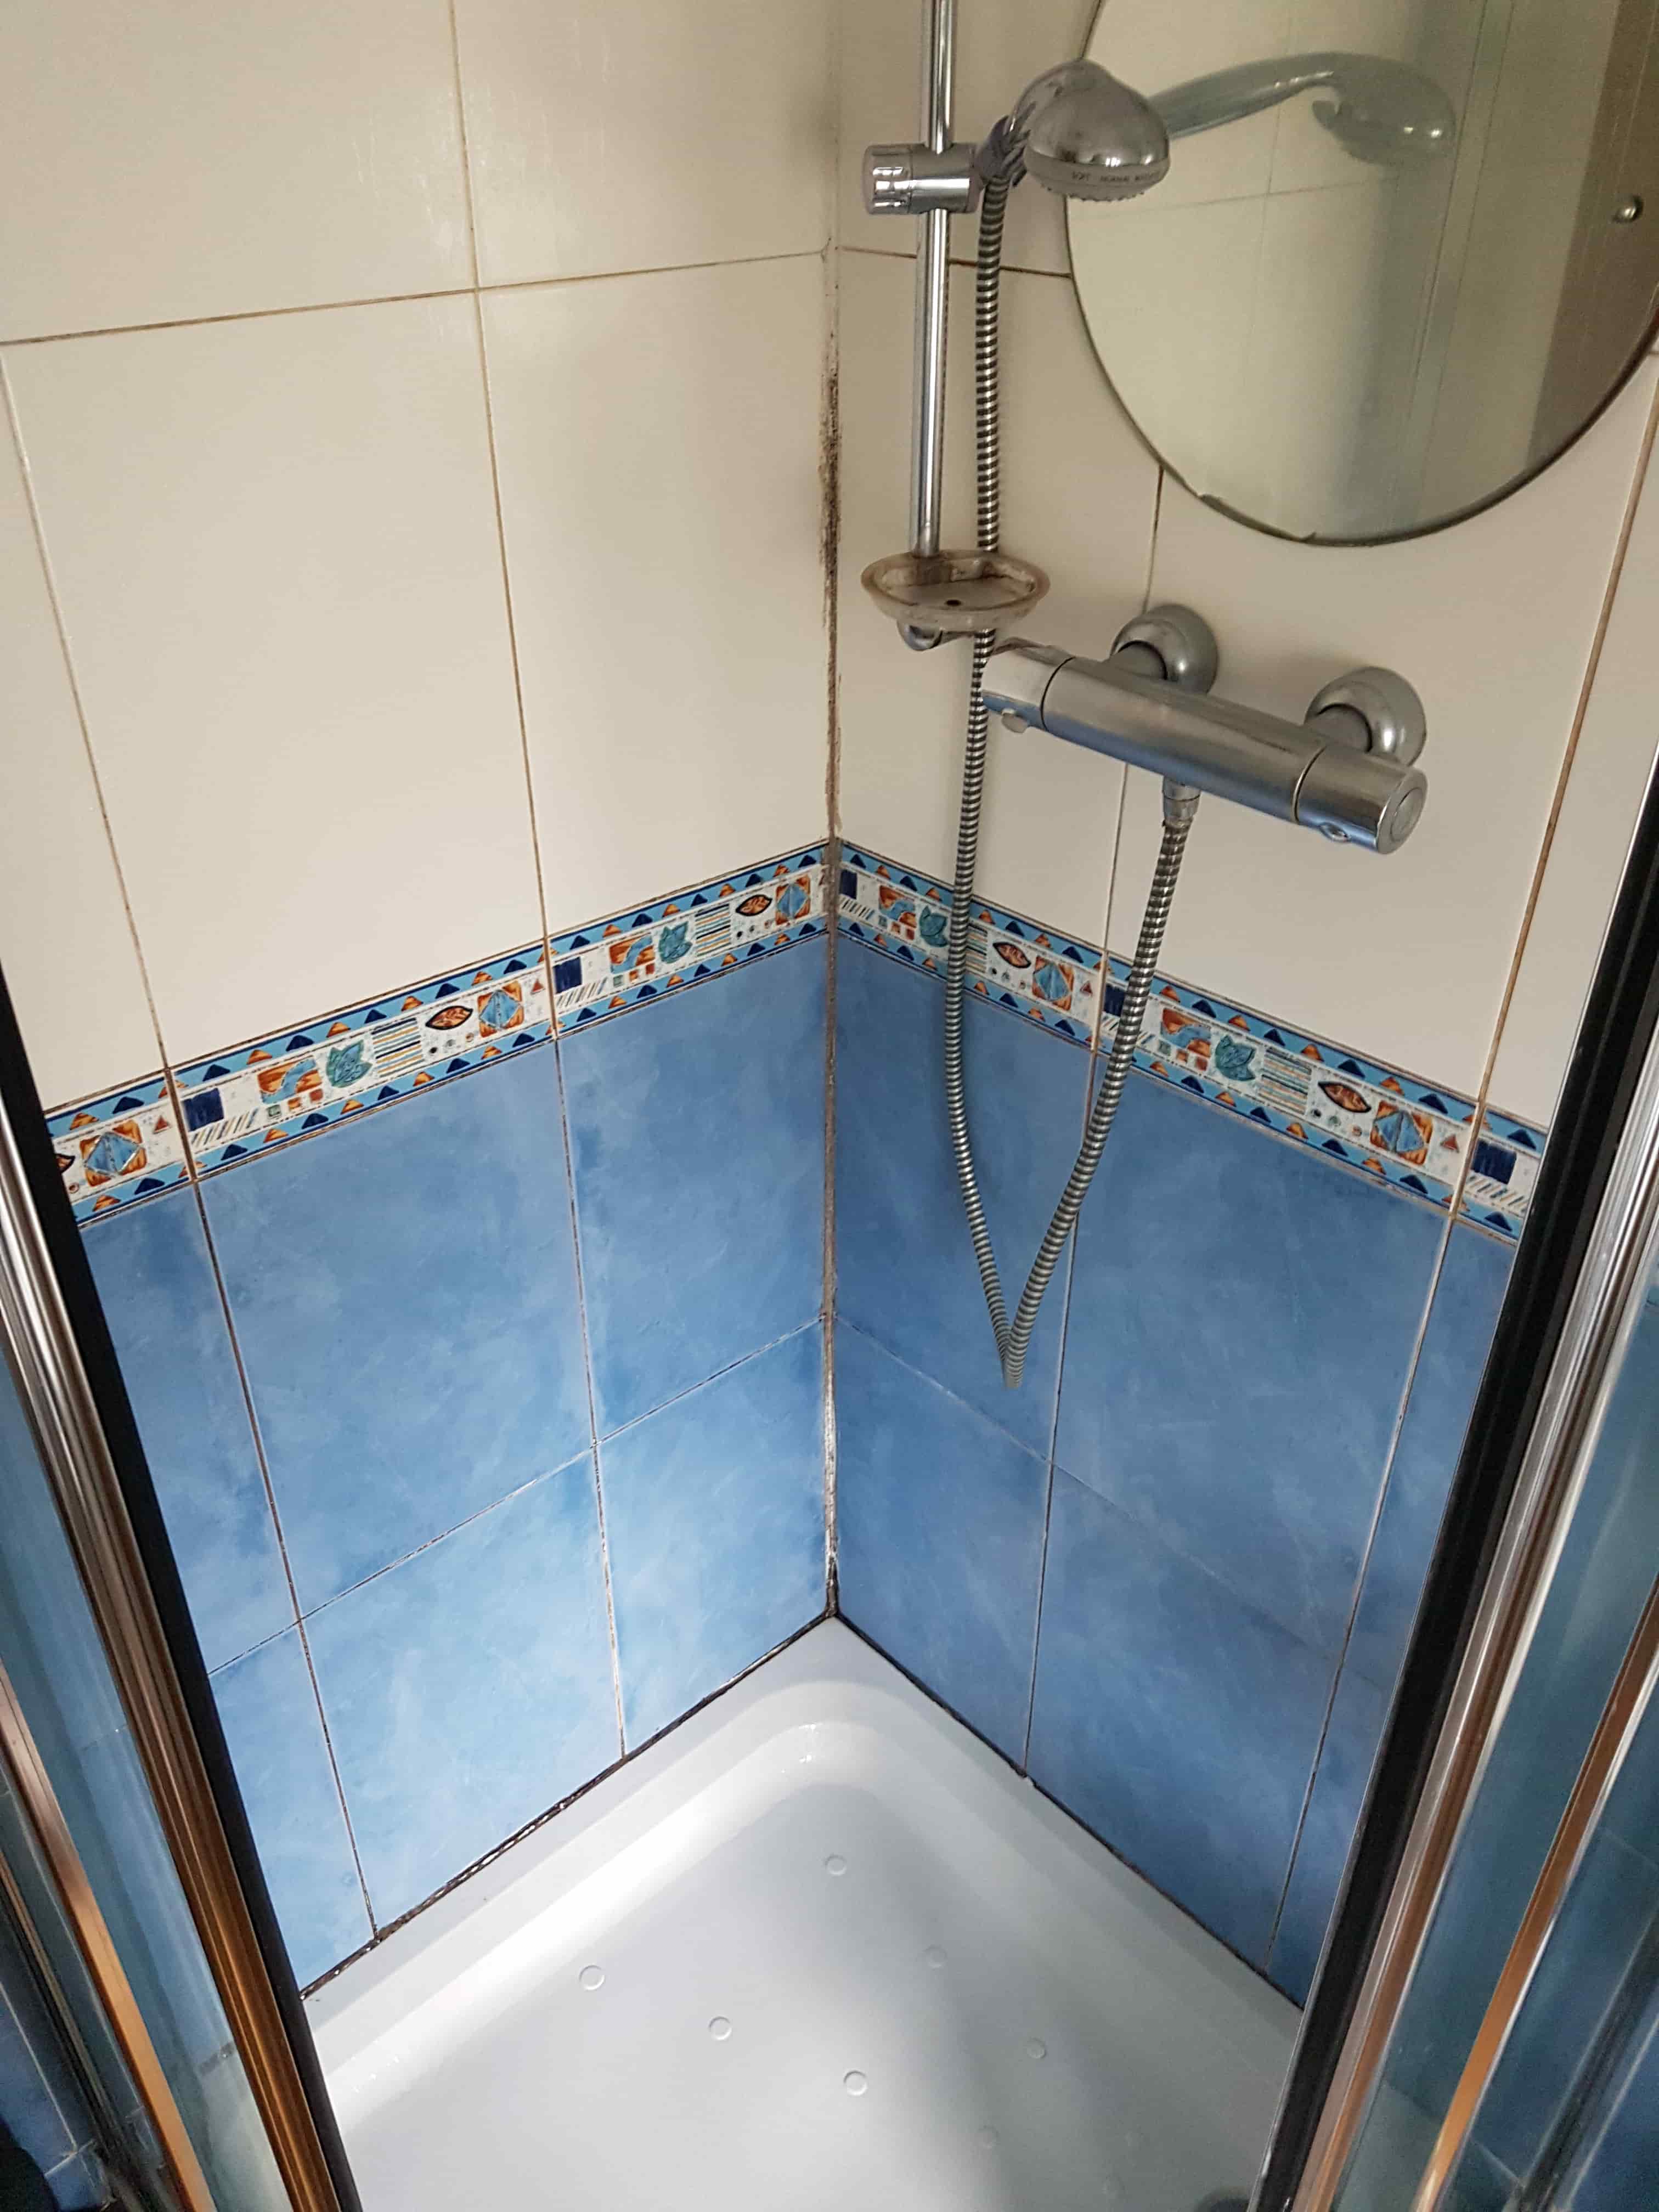
This client lives in Chapel-en-le-Frith which is a small town dubbed the ‘Capital of the Peak’ with parts of the parish lying in the Peak District National Park. They were trying to sell the house, but the shower cubicle was looking very bad and all the potential purchasers were being put off. They wanted to restore a new and fresh look, without spending a fortune, so they could finally sell it and move to their new property. With this in mind they had given me a call to come and take a look and see what could be done.
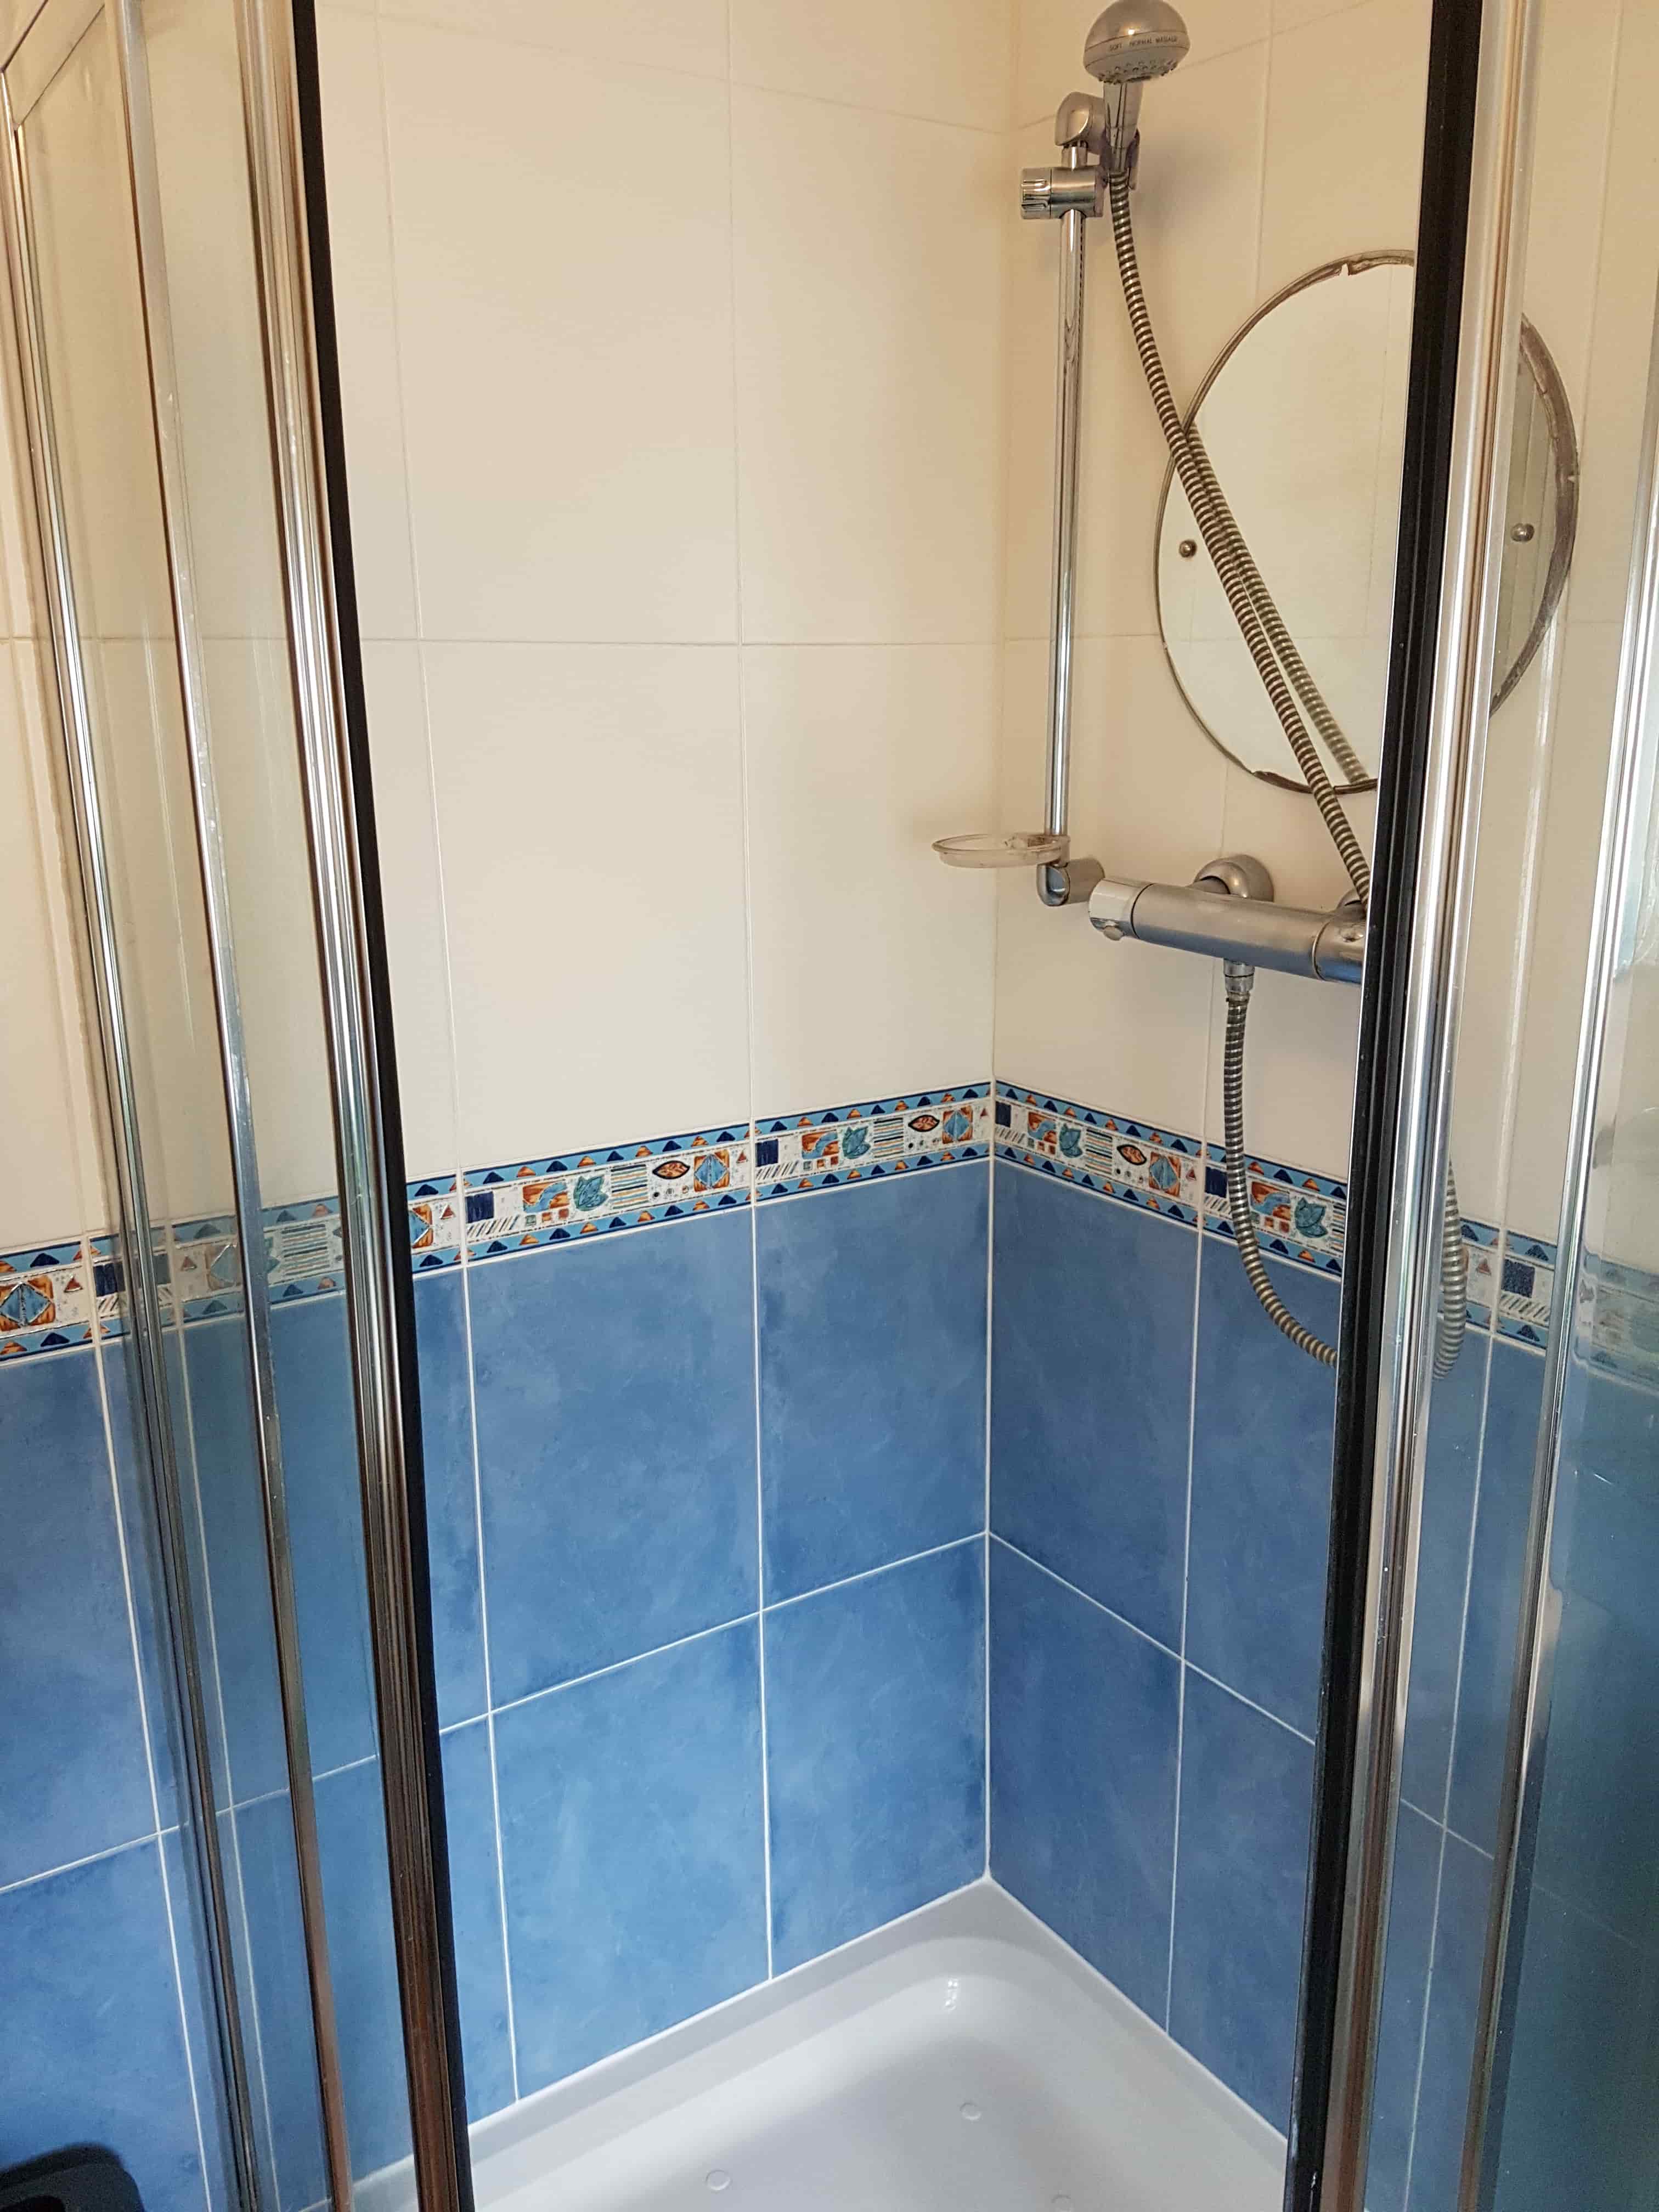
As you can see from the photos the grout was very badly discoloured in places, so I agreed with the client that the best course of action would be to clean the grout as much as possible and then recolour it with a white Grout Colourant followed by stripping off the old silicone and replacing with new. We discussed the cost and a timescale and booked the job in.

Shower Cubicle Tile Cleaning
The Tile Doctor Grout Colourant Kit comes with everything you need to change the colour of your grout including a Pre-Treat cleaner which is a slightly acidic product that cleans and etches your grout at the same time. This means you can get a better bond with the colourant when it is applied afterwards and ensures the best finish.
I set about cleaning the grout with the pre-treat cleaner which is sprayed on to the tile and then scrubbed in with an abrasive pad. This was then rinsed off with water and re-applied where necessary, some areas were worse than others and needed more work, so I persevered until I was happy the grout was as clean as it could be.
Applying White Grout Colourant
The job could be completed in one day, so the next job was to remove the silicone sealant between the tiles and the shower tray, the sealant was black with mould and dirt and generally in very bad condition.
Once the grout had dried I was able to start the application of the grout colourant using a small brush, wiping any excess off the tiles as I went. A steady hand is required for this job along with a little patience! Two coats of colourant were required to achieve the right finish.
Finally, the last step to complete was to put back a new white silicone sealant using a high-quality mould resistant product. There are many on the market, but the cheaper brands are not usually mould resistant and tend to turn black very quickly. Applying the sealant ensures the shower is waterproof and no water can get behind the tiles.

The shower cubicle had a new look and my client was really surprised about the end result. They now felt more confident that potential purchasers wouldn’t be put off by a grubby looking bathroom. Thankfully it had not cost them too much to make it look a whole lot more appealing.

Source: Professional Clean and Re Grout of a Shower Cubicle in Derbyshire
To tackle Mould before it becomes a major problem apply Tile Doctor Duo Clean, apply then leave it to soak into the tile and grout, then scrub with a brush and rinse with water repeating the process until the mould has disappeared.
Comments are closed.